
1. Begin with a rough outline of the watery part of the scene. Form it like a long rectangle with an open, twisted bottom and a boxy, foot-like shape at the top. Use a few curving lines, but most of them should be straight.
2. Sketch two enormous boulders at the base of the waterfall with bumpy, oblong shapes. Suggest the movement of water over the falls with gently downward-curving lines. Use curving horizontal lines to indicate the contours of the cliff surrounding the falls. Make tree branches with short, Y-shaped lines. Sketch two enormous boulders at the base of the waterfall with bumpy, oblong shapes.
3. Suggest the movement of water over the falls with gently downward-curving lines. Use curving horizontal lines to indicate the contours of the cliff surrounding the falls. Make tree branches with short, Y-shaped lines.
4. Add teardrop shapes along the branches for leaves on both sides of the water. Use short, scalloped lines to show clumps of leaves. Make jagged lines to look like grass near the bottom. Create the impression of turbulent water at the base of the falls with some squiggly lines. Provide background and a sense of distance with more horizontal lines at the top.
5. Sketch a series of long vertical lines in the water area to add to the appearance of falling water. Add depth by shading with patterns of diagonal lines alongside the water. Complete the landscape with additional shading in the upper water area, around the leaves, and on the boulders at the bottom.
Your landscape drawing is finished! Even if you don't get it right the first time, keep practicing until you're happy with your drawing.

1. Lightly sketch a line in about the middle of the page for the horizon. At the left, draw a long, pencil-shaped trunk for one cactus. Add four upward-curving branches that are slightly narrower. Then sketch two more cacti, one in the distance and another between the near and far cacti.
2. Sketch in ovals and similar odd shapes for rocks and boulders. Use wavy lines to show mounds in the sand. Draw two more cactus plants using many long, curving ovals. Change the straight horizon line to one that is slightly wavy.
3. Draw long, irregular shapes for clouds. Use part of a circle to show the sun. Above the horizon line, draw an angled and jagged line to show a distant mountain range. Add lines following the shape of the cacti to show their riblike surfaces. Draw a small plant with short, stubby leaves in the right foreground. Add curved lines to the rocks to give them shape.
4. Use diagonal lines to lightly shade the bottoms of the rocks. Shade the stalks of two of the cacti with vertical and mostly diagonal lines.
Your landscape drawing is finished! Even if you don't get it right the first time, keep practicing until you're happy with your drawing.
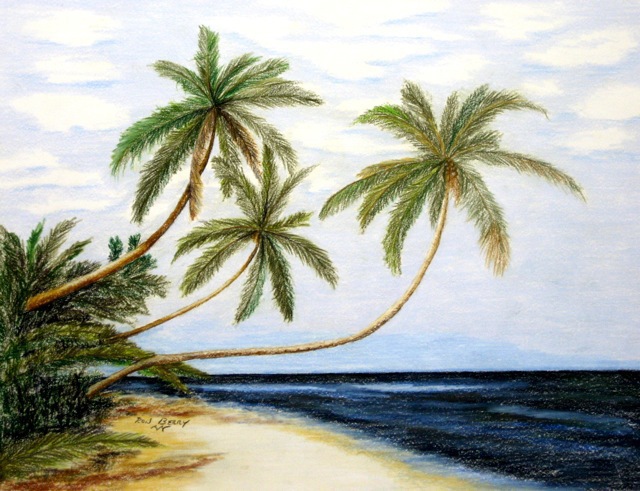
1. Place a light horizon line in about the middle of the page. Draw the hull of a sailboat with a long rectangle that has an upturned and sharply pointed end or bow. Make the sail using a triangle with two curved sides and a flat bottom. Draw a second, gently curving line below the boat to represent the shoreline.
2. Shape the trunks of palm trees with two sets of curving lines that taper as they go up. Sketch some rounded shapes on the sandy beach for coconuts and rocks. Show waves near the shoreline with pairs of squiggly lines. Extend each wave with single lines.
3. Sketch in the basic outline for the large leaves at the tops of the palm trees. Add jagged lines near the trees and rocks to give contour to the beach.
4. Give form to the palm leaves with long, jagged lines, as shown. Use a pair of curved lines to make stripes on the boat's sail. Sketch a few more waves on the surface of the sea. Put in short lines on the front surface of the first wave. Add very short lines to the coconuts.
5. Use a series of diagonal parallel lines to shade one side of the tree trunks, the sail boat, and the rock. Complete the drawing with dots and squiggles to show the foam of a breaking wave. Add several lines to the surface of the water.
Your landscape drawing is finished! Even if you don't get it right the first time, keep practicing until you're happy with your drawing.